Day 1 — Scaffold and First Tool Agent
Today you'll scaffold your first tool agent, run it locally, and call it from your terminal. By the end you'll have used every core meshctl command. No LLMs yet — just the basics: build, start, inspect, call.
What we're building today
graph LR
    Agent[flight-agent] -->|registers| Registry[Registry]
    You[You] -->|discovers agent| Registry
    You -->|meshctl call| Agent
A local registry and one agent. The agent registers with the registry so it can be discovered. When you run meshctl call, it looks up the agent's endpoint via the registry and then calls the agent directly. (By default meshctl proxies the call through the registry for convenience — useful in Docker/K8s where you only port-forward the registry — but architecturally the registry is a discovery layer, not a routing layer.) The agent exposes a single tool, flight_search, that takes an origin, destination, and date and returns stub flight data. That's the complete Day 1 mesh.
Step 1: Scaffold the agent
meshctl scaffold generates a ready-to-run agent from a built-in template. For a basic Python tool agent, the flags you need are --name, --agent-type tool, and --lang python (which is the default, so you can omit it).
$ meshctl scaffold --name flight-agent --agent-type tool --port 9101

Created agent 'flight-agent' in flight-agent/

Generated files:
  flight-agent/
  |-- .dockerignore
  |-- Dockerfile
  |-- README.md
  |-- __init__.py
  |-- __main__.py
  |-- helm-values.yaml
  |-- main.py
  |-- requirements.txt

Next steps:
  meshctl start flight-agent/main.py

For Docker/K8s deployment, see: meshctl man deployment
Everything mesh needs is in flight-agent/main.py. The scaffold also generates Docker and Helm files — you won't need them today, but they'll come in handy on Day 8 (Docker) and Day 9 (Kubernetes). The scaffold gives you a starting function named hello — you're going to replace it with flight_search.
Step 2: Write the tool
A mesh tool is a plain Python function with two decorators: @app.tool() from FastMCP (which exposes it as an MCP tool) and @mesh.tool(...) from MCP Mesh (which registers it with the mesh and handles dependency injection). Here's the flight_search function you'll put in main.py:
@app.tool()
@mesh.tool(
    capability="flight_search",
    description="Search for flights between two cities on a given date",
    tags=["flights", "travel"],
)
def flight_search(origin: str, destination: str, date: str) -> list[dict]:
    """Return a list of matching flights. Stub data for Day 1."""
    return [
        {
            "carrier": "MH",
            "flight": "MH007",
            "origin": origin,
            "destination": destination,
            "date": date,
            "depart": "09:15",
            "arrive": "14:40",
            "price_usd": 842,
        },
        {
            "carrier": "SQ",
            "flight": "SQ017",
            "origin": origin,
            "destination": destination,
            "date": date,
            "depart": "11:50",
            "arrive": "17:05",
            "price_usd": 901,
        },
    ]
Three parameters, a list of dicts back. The capability on @mesh.tool is how other agents will look this tool up once there are other agents — you'll see that on Day 2. The tags are how the registry narrows matches when multiple agents advertise the same capability.
Here's the complete main.py — imports, tool function, and agent class:
import mesh
from fastmcp import FastMCP

app = FastMCP("Flight Agent")


@app.tool()
@mesh.tool(
    capability="flight_search",
    description="Search for flights between two cities on a given date",
    tags=["flights", "travel"],
)
def flight_search(origin: str, destination: str, date: str) -> list[dict]:
    """Return a list of matching flights. Stub data for Day 1."""
    return [
        {
            "carrier": "MH",
            "flight": "MH007",
            "origin": origin,
            "destination": destination,
            "date": date,
            "depart": "09:15",
            "arrive": "14:40",
            "price_usd": 842,
        },
        {
            "carrier": "SQ",
            "flight": "SQ017",
            "origin": origin,
            "destination": destination,
            "date": date,
            "depart": "11:50",
            "arrive": "17:05",
            "price_usd": 901,
        },
    ]


@mesh.agent(
    name="flight-agent",
    version="1.0.0",
    description="TripPlanner flight search tool (Day 1)",
    http_port=9101,
    enable_http=True,
    auto_run=True,
)
class FlightAgent:
    pass
The @mesh.agent class at the bottom is what mesh uses to run the FastMCP server and register the agent with the registry. auto_run=True means you don't need a main() — mesh starts the server when the module is imported by meshctl start.
meshctl DX: prerequisite detection
Before meshctl start actually runs anything, it checks that the language runtime and required packages are present. If something's missing, it prints the exact commands you need to fix it and then exits — it won't half-start a broken agent. Here's what you'd see if Python's .venv is missing:
$ meshctl start flight-agent/main.py
Validating prerequisites...

❌ Prerequisite check failed: Python environment

Python environment check failed: .venv not found in current directory

MCP Mesh requires a .venv directory in your current working directory.

Current directory: /home/you/trip-planner

To fix this issue:
  1. Navigate to your project directory (where your agents are)
  2. Create a virtual environment: python3.11 -m venv .venv
  3. Activate it: source .venv/bin/activate
  4. Install mcp-mesh: pip install mcp-mesh
  5. Run meshctl start from this directory

Run 'meshctl man prerequisite' for detailed setup instructions.
Same pattern for missing mcp-mesh, missing Node for TypeScript agents, or missing Java/Maven for Java agents — meshctl tells you what's wrong and what command to run next.
Step 3: Start the agent
With a .venv in place and mcp-mesh installed, start the agent in detached mode. If no registry is running, meshctl starts one automatically on port 8000.
$ meshctl start flight-agent/main.py -d
Validating prerequisites...
  Using virtual environment: /tmp/trip-planner-day1/.venv/bin/python
  All prerequisites validated successfully
   Python: 3.11.14 (/tmp/trip-planner-day1/.venv/bin/python)
   Virtual environment: .venv
Started 'flight-agent' in detach
Logs: ~/.mcp-mesh/logs/flight-agent.log
Use 'meshctl logs flight-agent' to view or 'meshctl stop flight-agent' to stop
meshctl auto-detected the .venv and started the agent in detached mode. The registry was started automatically — no separate command needed. Logs are stored at ~/.mcp-mesh/logs/flight-agent.log and viewable with meshctl logs flight-agent.
Step 4: Start the UI
meshctl ships a web dashboard for inspecting agents, tools, and traces. Start it alongside your agent:
$ meshctl start --ui -d
Started in detach
Use 'meshctl logs <agent>' to view logs or 'meshctl stop' to stop
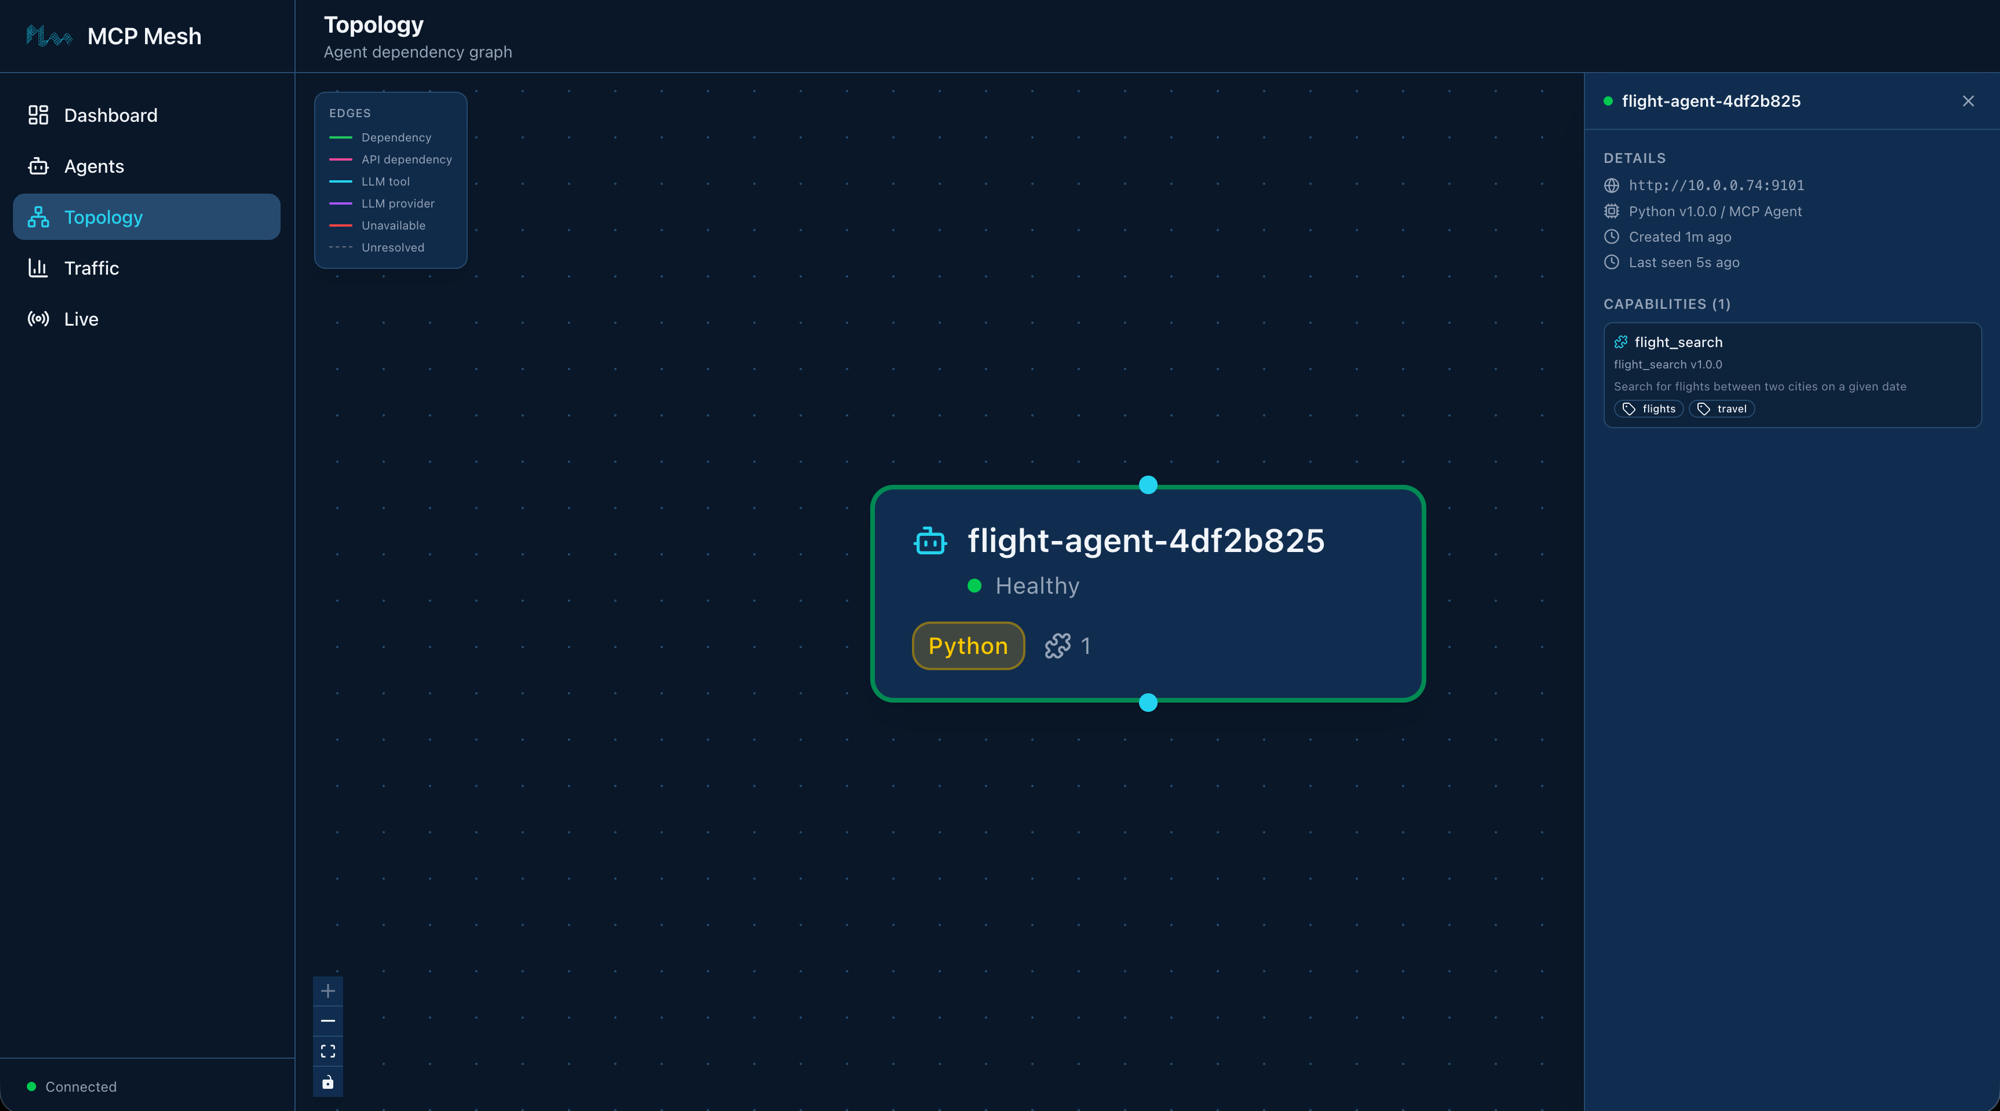
The dashboard is available at http://localhost:3080. Open it in your browser and you'll see flight-agent listed with its status and capabilities.
Step 5: Inspect the mesh
meshctl list shows you what's running:
$ meshctl list
Registry: running (http://localhost:8000) - 1 healthy

NAME                    RUNTIME        TYPE    STATUS       DEPS     ENDPOINT                AGE      LAST SEEN
--------------------------------------------------------------------------------------------------------------------------
flight-agent-ba2b3bc8   Python         Agent   healthy      0/0      10.0.0.74:9101          53s      3s
The agent registers as flight-agent-ba2b3bc8 — mesh appends a short hash to ensure uniqueness when multiple instances of the same agent run. All meshctl commands accept the prefix flight-agent for convenience, so you never need to type the hash.
The DEPS column is 0/0 because flight-agent doesn't depend on any other agent. When you add hotel and weather agents on Day 2, this column will show resolved-over-declared dependencies and turn green when all dependencies are satisfied.
meshctl list --tools shows every tool registered across all agents:
$ meshctl list --tools
TOOL                      AGENT                   CAPABILITY           TAGS
----------------------------------------------------------------------------------------
flight_search             flight-agent-ba2b3bc8   flight_search        flights,travel

1 tool(s) found
And meshctl status flight-agent gives you a detailed breakdown — capabilities, endpoint, version, uptime:
$ meshctl status flight-agent
Agent Details: flight-agent-ba2b3bc8
================================================================================
Name                : flight-agent-ba2b3bc8
Type                : Agent
Runtime             : Python
Status              : healthy
Endpoint            : http://10.0.0.74:9101
Version             : 1.0.0
Dependencies        : 0/0
Last Seen           : 2026-04-12 05:29:01 (3s ago)
Created             : 2026-04-12 01:28:06

Capabilities (1):
--------------------------------------------------------------------------------
CAPABILITY                MCP TOOL                       VERSION    TAGS
--------------------------------------------------------------------------------
flight_search             flight_search                  1.0.0      flights,travel
Step 6: Call the tool
meshctl call discovers the agent via the registry and sends an MCP JSON-RPC tools/call to it. You pass the tool name and a JSON object with the arguments:
{
  "_meta": {
    "fastmcp": {
      "wrap_result": true
    }
  },
  "content": [
    {
      "type": "text",
      "text": "[{\"carrier\":\"MH\",\"flight\":\"MH007\",\"origin\":\"SFO\",\"destination\":\"NRT\",\"date\":\"2026-06-01\",\"depart\":\"09:15\",\"arrive\":\"14:40\",\"price_usd\":842},{\"carrier\":\"SQ\",\"flight\":\"SQ017\",\"origin\":\"SFO\",\"destination\":\"NRT\",\"date\":\"2026-06-01\",\"depart\":\"11:50\",\"arrive\":\"17:05\",\"price_usd\":901}]"
    }
  ],
  "structuredContent": {
    "result": [
      {
        "carrier": "MH",
        "flight": "MH007",
        "origin": "SFO",
        "destination": "NRT",
        "date": "2026-06-01",
        "depart": "09:15",
        "arrive": "14:40",
        "price_usd": 842
      },
      {
        "carrier": "SQ",
        "flight": "SQ017",
        "origin": "SFO",
        "destination": "NRT",
        "date": "2026-06-01",
        "depart": "11:50",
        "arrive": "17:05",
        "price_usd": 901
      }
    ]
  },
  "isError": false
}
The response is a standard MCP tool result envelope. The flight data you care about is under structuredContent.result — two flights matching the stub data from your flight_search function. The content field contains the same data as a JSON string (the MCP text format), and _meta is FastMCP internal metadata. When other agents call this tool via dependency injection, mesh parses structuredContent automatically — they receive the Python list directly.
meshctl call discovers the agent's endpoint via the registry and calls it. By default it proxies through the registry for convenience — this is especially useful in Kubernetes where you only need to port-forward the registry. You can call the agent directly with --use-proxy=false for debugging.
Stop and clean up
One command stops the registry, the agent, and any other background processes meshctl is tracking:
$ meshctl stop
Stopping 1 agent(s) in parallel...
Stopping agent 'flight-agent' (PID: 14560)...
Agent 'flight-agent' stopped
Stopping UI server (PID: 15245)...
UI server stopped
Stopping registry (PID: 14555)...
Registry stopped

Stopped 3 process(es)
Troubleshooting
Agent name has a hash suffix. Your agent registers as flight-agent-XXXXXXXX (name plus a random hash). This ensures uniqueness when you run multiple instances. All meshctl commands accept just the prefix (flight-agent) — you never need to type the hash.
Warning about McpMeshTool parameters in logs. If you check meshctl logs flight-agent, you may see a warning: Function '__main__.flight_search' has 3 parameters but none are typed as McpMeshTool. Skipping injection of 0 dependencies. This is harmless — it means your tool has no mesh dependencies to inject, which is expected on Day 1. The warning disappears once you add dependencies on Day 2.
meshctl stop reports a failed UI process. If meshctl stop reports Failed to stop UI server, it usually means a previous UI process is still running. Run ps aux | grep meshui to find it and kill <PID> to clean it up.
Port 8000 already in use. If meshctl start fails because port 8000 is taken, another service (or a previous registry) is using it. Stop the other service, or set a different port with MCP_MESH_REGISTRY_PORT=9000 meshctl start ....
Recap
You built, started, inspected, and called an agent using six meshctl commands and a dozen lines of Python. The flight_search function you wrote today is the same function that will run on Kubernetes on Day 9 — same file, same decorators, same types, no wrapper code or deployment-specific edits. That's DDDI: the agent doesn't know or care where it's running, and you get dev-to-production with nothing in between.
See also
meshctl man scaffold— the full scaffold CLI reference, including thellm-agentandllm-providertemplates you'll see in later chaptersmeshctl man decorators— the@mesh.tool,@mesh.agent,@mesh.llm, and@mesh.llm_providerreferencemeshctl man quickstart— a condensed version of this tutorial for when you already know mesh and want the commands backmeshctl man cli— full CLI reference forstart,list,call,status,stop
Next up
Day 2 — More Tools and Dependency Injection adds four more tool agents and introduces dependency injection between them — the flight_search tool will start asking for user preferences from another agent, and you'll see how mesh resolves and injects those dependencies at runtime.